Guide to Using a Drive Pin Punch Safely
When it comes to precision work in mechanics, gunsmithing, automotive repairs, or even DIY projects, one tool that often plays a quiet yet critical role is the drive pin punch. While it may look like a simple steel rod, the drive pin punch allows you to remove or insert pins with accuracy and control. However, as straightforward as it seems, using a drive pin punch incorrectly can damage your workpiece or, worse, cause personal injury. This comprehensive guide will walk you through everything you need to know about drive pin punches, from understanding their purpose to learning proper safety practices, maintenance, and pro tips for long-lasting results.
What is a Drive Pin Punch?
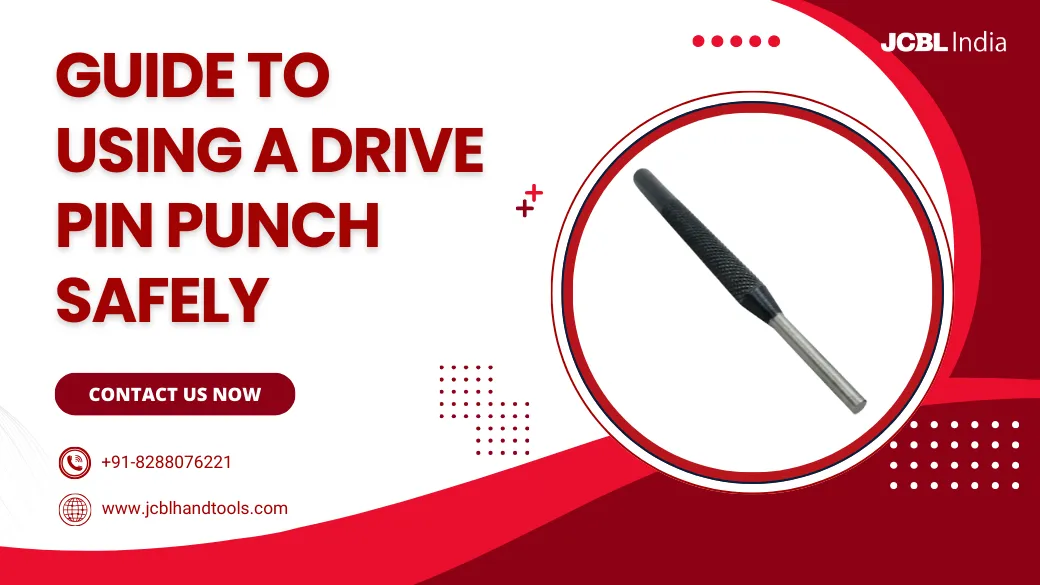
A drive pin punch is a hand tool specifically designed to drive pins, rivets, or bolts out of holes without damaging the surrounding material. Unlike a center punch or nail punch, which are meant for marking or driving nails, drive pin punches are slender tools with a flat face that aligns with the head of a pin.
Key characteristics of a drive pin punch:
- Flat face tip: Prevents the punch from slipping off the pin.
- Straight shaft: Ensures precise alignment.
- Variety of sizes: Drive pin punches come in sets, ranging from very fine tips for small pins to thicker versions for heavy-duty applications.
Common uses of drive pin punches:
- Gunsmithing (removing roll pins, trigger pins, or bolts).
- Automotive repairs (dislodging dowel pins, rivets, or small shafts).
- Industrial applications (assembling/disassembling machinery).
- DIY tasks (furniture assembly, repairing appliances).
In short, if a job involves moving a pin out of a hole, a drive pin punch is your go-to tool.
Why Safety Matters with a Drive Pin Punch
At first glance, using a drive pin punch might seem foolproof—just align it and hit with a hammer, right? In reality, improper handling can cause serious consequences. Risks of unsafe use include:
- Hand injuries: A misaligned strike can slip off the pin and hit your hand.
- Eye injuries: Pins or tiny metal fragments can fly during hammering.
- Damaged tools: Striking too hard or using the wrong size punch can deform or mushroom the punch tip.
- Workpiece damage: An angled strike may bend pins, scratch surfaces, or ruin delicate parts.
These risks underline why safety and proper technique should always come first when working with a drive pin punch.
Essential Safety Gear Before You Begin
Before you even pick up the punch and hammer, make sure you’re equipped with the right safety gear. This not only protects you but also ensures smoother, more precise work.
- Safety Glasses or Goggles: Always protect your eyes from flying debris, pin fragments, or chips of metal. Even small fragments can cause lasting damage.
- Work Gloves: While gloves can help cushion hammer strikes, some professionals prefer bare hands for better grip and sensitivity. Choose what feels safest and most effective for your task.
- Workbench with Clamps or Vise: A secured workpiece is critical. If the object moves while you strike, you risk losing control of the punch. Use clamps or a vise for stability.
- Appropriate Hammer: The hammer you use matters. A small ball-peen hammer or a brass hammer is usually best. Avoid oversized hammers, as they increase the chance of overstriking.
With the right gear in place, you’ve already reduced the risks by half before even making the first strike.
Step-by-Step Guide to Using a Drive Pin Punch Safely
Now that you’re prepared, let’s dive into the correct method for using a drive pin punch.
Step 1: Choose the Correct Punch Size
Select a punch that closely matches the diameter of the pin. Using one that’s too small risks bending the punch or damaging the pin, while one that’s too large won’t align properly.
Step 2: Secure Your Workpiece
Clamp your workpiece firmly in place. This ensures stability and prevents slipping, which could lead to tool damage or injury.
Step 3: Align the Punch Properly
Place the punch tip squarely on the pinhead. Keep the shaft of the punch perpendicular to the surface to avoid angled strikes.
Step 4: Use Controlled Hammer Strikes
Hold the punch with one hand and strike with the hammer using the other. Start with light, controlled taps. Gradually increase force only if needed. Precision is more important than power.
Step 5: Monitor Pin Movement
As the pin begins to move, check alignment and reposition if necessary. Avoid overdriving the pin, as it may damage surrounding parts.
Step 6: Remove and Inspect
Once the pin is out, inspect both the pin and the punch for damage. This helps you spot wear and prevent future issues.
By following these steps, you’ll not only work more safely but also extend the life of both your tools and workpieces.
Pro Tips for Better Results
Even after mastering the basics, a few professional tips can help you get even more out of your drive pin punch.
- Keep a Complete Set: Always use the right size for the pin. Investing in a set ensures you won’t have to compromise.
- Replace Worn Punches: Mushroomed or chipped tips reduce accuracy and increase risk. Replace damaged tools promptly.
- Use a Brass Hammer for Sensitive Work: This reduces the chance of damaging delicate parts.
- Lubricate Stuck Pins: Apply a drop of penetrating oil to loosen stubborn pins before punching.
- Work in Proper Lighting: Good visibility helps with precision and prevents mistakes.
- Check Alignment Often: Especially on long pins, make sure the punch remains straight throughout the process.
These practices turn a simple job into a professional one.
How to Maintain Your Drive Pin Punch Set
Proper maintenance extends the life of your tools and ensures reliable performance every time.
- Clean After Use: Wipe down punches after each project to remove dirt, oil, and debris.
- Inspect for Wear: Look for mushrooming, cracks, or bends. Discard any damaged punches to avoid accidents.
- Resurface Light Damage: Small burrs or mushrooming can sometimes be ground down carefully. However, don’t overdo it—if the tool is too worn, replacement is safer.
- Prevent Rust: Store punches in a dry area. Applying a thin layer of light machine oil can help protect against corrosion.
- Proper Storage: Keep punches organized in a case or tool roll. This prevents tip damage and makes it easy to grab the right size.
Maintaining your punches ensures consistent results and saves money in the long run.
Conclusion
A drive pin punch may look like a modest tool, but when used properly, it becomes an essential ally in precision work. By understanding its purpose, respecting safety measures, and maintaining your tools, you can work more efficiently while avoiding unnecessary risks.
Whether you’re a professional mechanic, gunsmith, or DIY enthusiast, investing in a high-quality set of punches is a must. That’s where JCBL Hand Tools comes in. Known for their durability, precision engineering, and ergonomic designs, JCBL Hand Tools provide the reliability you need for every project.
Upgrade your toolbox today with JCBL Hand Tools’ premium range of striking tools and experience the difference in safety, efficiency, and performance. Explore the full collection at JCBL Hand Tools.
Related Post

How to Use a Hammer Safely?
Citing the inevitability, hammers seem to be quite a basic tool that features a wide [...]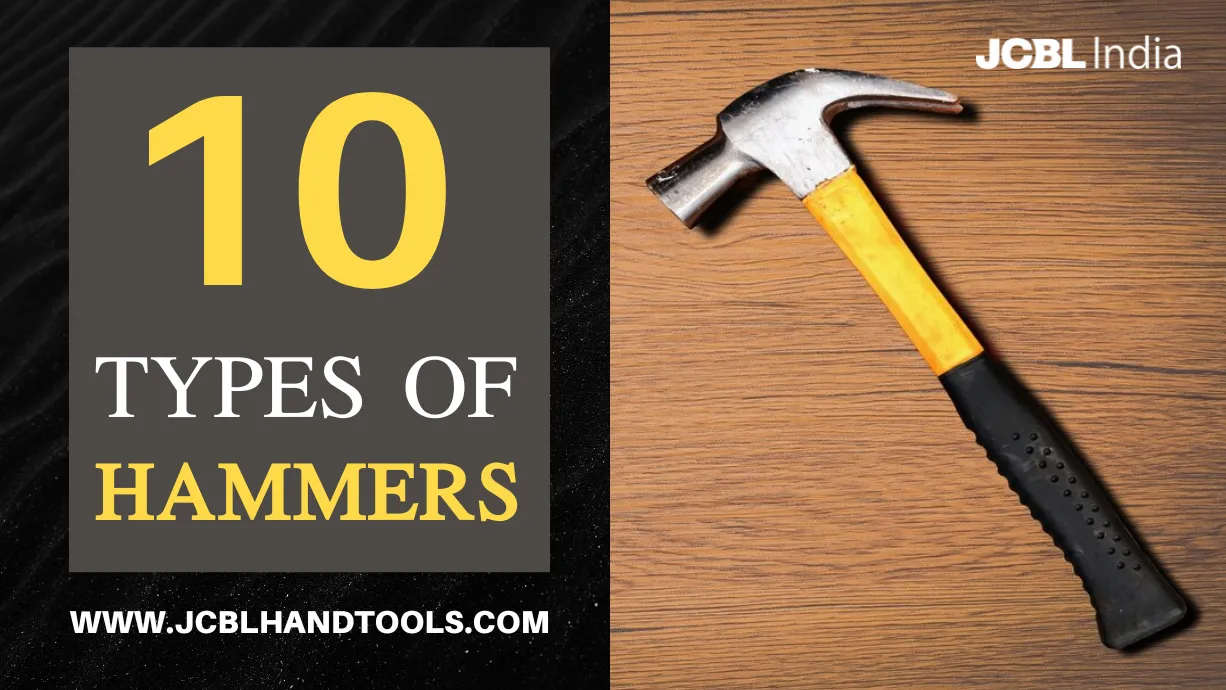
Types of Hammers and Their Uses
The hammer has been a fundamental striking tool since the beginning of human civilization, helping [...]