How To Use A Caulk Gun Like A Pro: A Step-By-Step Guide

Whether you are working on a DIY project or a professional task, you’ll need a caulk gun to make a clean and watertight seal. A caulk gun is helpful for a wide range of tasks such as sealing gaps, bathroom renovation, or bonding materials together. This tool makes your DIY tasks easier. Have you ever used a caulk gun in your projects? Don’t know the right technique to use a caulking gun? Don’t worry! In this blog, we will provide a step-by-step guide on how to use a caulk gun like a pro in no time. Before delving deeper, let’s understand what is a caulk gun and its types-
What Is A Caulk Gun?
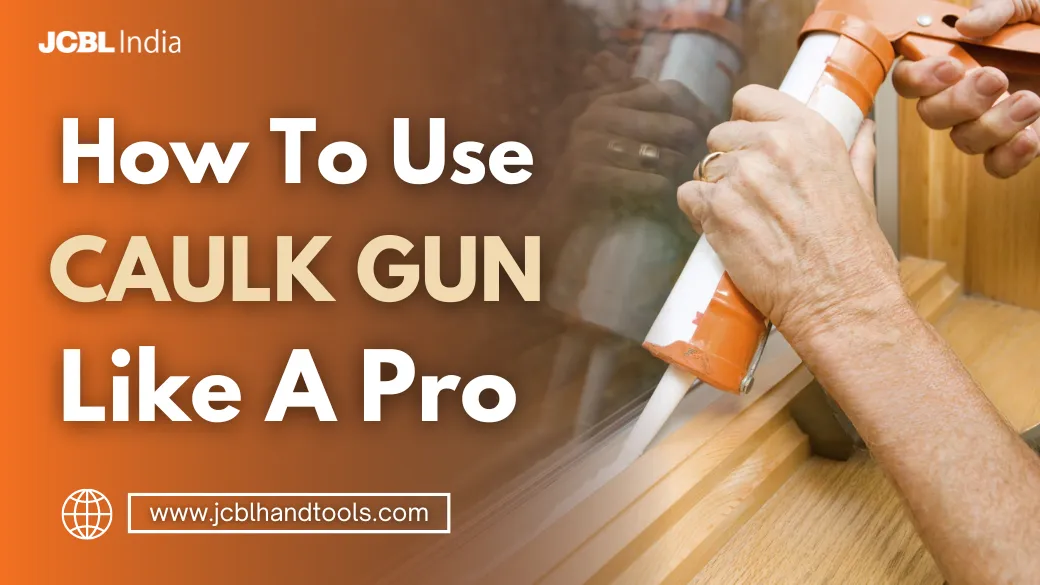
A caulk gun is a hand tool used for applying caulk, adhesives, or sealants to fill cracks and gaps. These are also used to block off the areas of windows, doors, walls, bathtubs, etc. The caulk is made of flexible material like silicone, latex, or acrylic varieties. It prevents water, air, or insects from getting through the crack. The caulk gun has a tube filled with caulk and when the trigger is pressed, the caulk comes out through the nozzle.
“You can think of a caulk gun as your partner for completing the tasks of sealing and gap filling neatly.”
Types Of Caulk Gun
The caulk guns are of different types based on the application areas. A few common types of caulk guns are:
- Manual caulk gun: It is the most common type of caulk gun that is operated by squeezing the trigger to release the caulk. It comes in different designs such as skeleton type and half round.
- Electric caulk gun: This is an electricity-powered caulk gun that is mostly used in large-scale jobs. It allows one to apply caulk with the minimum effort.
- Pneumatic caulk gun: These are air-powered caulk guns that are used in heavy-duty performance. They offer speed, precision, and a clean finish.
How To Use A Caulk Gun
Now that you are aware of the caulk gun and its types, let’s learn how to use it properly. Here is a step-by-step process to use a caulk gun-
Loading the caulk gun
The very first step to use a caulk gun is to load it. To load the caulk gun, you need to cut the nozzle using scissors or a knife. The nozzle should be cut at the 45-degree angle. Keep one thing in mind the closer you cut to the nozzle, the smaller the bead or drop of caulk will be. The caulk pump is sealed from the inside of the nozzle to prevent spilling. You can open the seal using a long nail or built-in piercer to puncture it through the nozzle. Now, load the caulk gun by pulling back the plunger, inserting the caulk tube, and pushing back the rod, just like loading a weapon.
Getting the perfect drop
After loading the caulk gun, you are ready to apply the caulk. Hold the gun at an angle of 45 degrees to the surface where you want to apply the caulk. Start applying even pressure on the trigger while slowly moving the gun. It is important to keep a steady pace as moving too fast or slow will lead to uneven caulking.
Applying the caulk
While applying the caulk, make sure the drop should be smooth and continuous. In the corners, you can apply caulk slowly to avoid any mistakes. After applying the caulk, you can smooth it out with a finger or caulking tool for a perfect finish. Smoothening of caulk not only ensures that the seal looks clean but is airtight and watertight.
Tips For Perfect Caulking
To perfectly seal caulk, here are a few tips that you can consider-
- Apply the caulk in continuity.
- Make sure to cut the nozzle at an angle of 45 degrees. It does not only gives you more control over the drop of caulk but also ensures that it fills the gap neatly without spilling the caulk.
- Use painter’s tape at the edges to make clean lines to ensure that excess caulk can be removed.
- Run your finger along with the caulk bead to smoothen it.
Common Caulking Mistakes And How To Fix Them
Even the professionals can make mistakes. Here are a few common mistakes that one can make while applying caulk and ways to fix them-
- Uneven caulk lines are the most common mistakes that one makes while using a caulk gun. To avoid this mistake, you need to adjust the trigger pressure and move the gun at a steady pace.
- Sometimes caulk does not stick to the surface. To prevent this, make sure the surface is clean and dry, as dirty surfaces can prevent the caulk from adhering to the surface.
- Dripping of caulk is another mistake. One can engage the stop mechanism on the caulk gun to avoid excess material from oozing out of the gun.
Conclusion
Caulking might seem like an easy job to do but it requires precision to do it correctly. A little difference in the caulking can make a big difference in the quality and durability of the project. Whether you are a DIY enthusiast or a professional electric or carpenter, mastering the right technique of caulking is important for a clean finish. By incorporating the aforementioned tips, you can caulk seal, and crack like a professional.
Looking for a caulking gun, but don’t know where to get a premium quality caulking gun. Dont worry! You can get a high-quality caulking gun and other hand tools for your needs at JCBL Hand Tools. We are one of the most trusted suppliers of hand tools of varied types and designs that meet international standards. Visit our website to check out our complete range of products.
FAQ’s
Can I reuse a caulk tube after opening it?
Yes, you can use the caulk tube after opening it. But you need to seal its nozzle properly to prevent caulk from drying out. You can use a nail or cap to seal the nozzle.
What is the best type of caulk for outdoor projects?
The silicone caulk is one of the best types of caulk for outdoor projects. It is flexible, waterproof, and resistant to the temperature changes.
How often should caulking be replaced?
You can perform annual inspections on the caulking to find any issues. But usually, it needs to be replaced after every 5 to 10 years based on the condition and type of caulk used.


